Thursday, April 12, 2012

BBQ Green Chili Chicken

Here is Oregon, we were treated to some pretty good weather over the weekend which gave me the itch for BBQ. I love BBQ, I love the sweet tangy sauce and the act of cooking outdoors. However, BBQ sauce in the traditional sense is full of sugar and salt which is a big no, no on the PINK method. When I got around to it this week, I decided to try to create my own BBQ sauce that is PINK friendly. Unfortunately, by the time I got around to making a BBQ sauce, it was raining again here in Oregon so I had to cook indoors and come up with a Tex-Mex BBQ fusion which turned out great.

PINK Friendly BBQ Sauce (makes about 2 cups)
1/2 sweet onion chopped
3-4 medjool dates
3-4 garlic cloves chopped
1/2 cup water
1 6 ounce can tomato paste
3 tbsp yellow mustard
1/3 cup apple cider vinegar
2-3 tbsp liquid smoke (I use the Stubb's brand, mesquite flavor)
Salt and Pepper to taste
water to thin the sauce if needed, I ended up adding about 3/4 cup

Method
Add the chopped onions, Medjool dates, garlic and 1/2 cup water to a bowl and microwave for about 3 minutes until the onions and dates soften.
Add the onion and date mixture to the blender and blend until a smooth puree is formed
Add the onion puree, tomato paste, mustard, liquid smoke, apple cider vinegar, salt and pepper to a sauce pan

Stir to combine, at this point if the sauce is super thick, add more water to it until you get a BBQ sauce consistency, like I said above I added about 3/4 cup of water but only add 1/4 cup at a time because you don't want it to get to soupy. At this point if you like a super sweet BBQ sauce, you could add a few stevia drops, I like mine more tangy so the sweetness from the dates was a perfect sweetness level for me.
Turn heat on medium and cook the sauce until it has thickened slightly and all the flavors have married. Turn off the heat and let cool. At this point you can put it in the refrigerator and save for about a week, using it whenever you BBQ.

BBQ Green Chili Chicken (Serves 5)
5 boneless skinless chicken breasts weighing about 4 ounces each (truth be told mine were about 5 1/2 ounces)
1/2 sweet onion sliced
1 can roasted green chilis
1/2 cup PINK Friendly BBQ sauce

Method
Trim your chicken breasts of any fat and using a knife you are going to cut into the chicken breast as if you were filleting it but do not cut all the way through, you just want to create a pocket to hold the onion and green chili mixture.
When the chicken is prepped, add the onion and green chilies to a saute misted with a little olive oil.
Cook until the onions have softened and browned slightly.
Take the onion/chili mixture and stuff it into the pockets you created in the chicken breasts.
Brown the stuffed chicken breasts in the pan you sauteed the onions in.
Top the chicken breasts with a smear of BBQ sauce
Bake in a 350 degree oven until the chicken has cooked all the way through, about 15 minutes or so depending on how thick your chicken breasts are.
I served mine along side some mashed baked sweet potato, steamed broccoli and carrots.

Enjoy!


Tuesday, April 10, 2012

Finished with Phase 3, Now What?

I officially finished Phase 3 of the PINK Method on Saturday but the busy weekend got in the way and I didn't get around to taking pictures until yesterday which marks officially following the plan for 90 days. Over all I did very well the last 90 days, in total I have lost 36 pounds and 25 inches. I really wanted to hit that 40 pound mark but Phase 3 proved to be a difficult time for me. No, not because of the eating plan or the workout routines, but because of life. Yes, life got to be very stressful the last few weeks, not to throw a pity party for myself but my son got very ill and we spend days upon days going from hospital to hospital and doctor's appointment to doctor's appointment. In the mix of it all I also injured myself which really limited the amount of exercising I could do. We also are in the process of buying an investment property and let's just say  it has been a process which equals stress. 


Before Reset
After Reset
After Phase 1
After Phase 2
After Phase 3
Total loss
Waist
48 inches
45 inches
41.5 inches
40 inches
38 inches
10 inches
Bust
47 inches
45 inches
42 inches
41 inches
40 inches
7 inches
Hips
45 inches
44 inches
41.5 inches
41 inches
41 inches
4 inches
Thigh
27 inches
26 inches
25 inches
23 inches
23 inches
4 inches
Totals
167 inches
160 inches
150 inches
145 inches
142 inches
25 inches


While I was quite disappointed that I didn't hit that goal of losing 40 pounds I came to the realization that not meeting that goal should not be something I beat myself up about. Why? I realized that my old self, my prior to PINK self would have buried the stress of the last 3 weeks with food. Instead I dealt with the stress, asked for help when I needed it and stuck to the plan. While my weight loss wasn't what I had hoped for, it was still a loss. So while I may not be able to celebrate losing a full 40 pounds in 90 days, I got darn close so not only am I going to celebrate that, I am going to celebrate that I have turned a corner and no longer need to turn to food to cope with life's ups and downs. 
My husband took this picture a few weeks ago without me knowing, I look at it and am amazed at the transformation, I look forward to what I will look like when I finish the next 90 days on PINK.

So what's next? I am not done with PINK...I am still considered obese. When I started I set an ultimate goal of getting back to my weight prior to having kids so I still have about 24 pounds to go but even then I will still be considered overweight. In order to get into a healthy weight range and have my BMI considered normal or "healthy" I need to lose approximately 43 more pounds. I will get there eventually but first I will strive to reach my first goal which was to lose 60 pounds.  I am going to continue the eating plan, going through the phases again but I plan on upping the weights I use when I workout. I went through the first 90 days using 5 lb. weights I plan to go up to 8 pound weights and do the whole workout cycle again. I hopefully will be subbing in some running instead of some of the Kardio workouts because I am supposed to run a 12K race in May if I can get my injury to heal enough to start running the distances and hills required for training but that is the only change I may make to the program.

The PINK program has allowed me to find myself again and for that I will be eternally thankful. 


Monday, April 9, 2012

Beef and Broccoli Stir-fry

This meal was a treat for most of my family. Why? You ask, well we don't generally eat beef in our house. My husband's body just doesn't process it very well so he doesn't eat it. I am not a fan of making several different meals so we have just gotten use to not having beef. I however love beef so once or twice a year when I find it on sale I will make something with beef which is a treat for myself and my kiddos. This beef and broccoli was a hit with my family and much to my dismay there wasn't a morsel leftover for my lunch the next day because my kids all had seconds. I know I shouldn't complain that it was all gone because that means my kids ate a really healthy meal full of vegetables but man was I looking forward to having some for lunch the next day. For the kids, I served this over Yakisoba noodles, for myself since I was on reset, I served it over cauliflower "rice" but you could also serve over brown rice if you are in the primary phase. Give it a try, it was really good.

Beef and Broccoli Stir-fry (serves 5)
20 ounces beef (I used a London Broil cut)
1 tsp minced garlic
1 tsp minced ginger
1 tbsp rice wine vinegar
2 tsp Bragg's aminos
7 cups broccoli florets
1/2 cup stir-fry sauce

Stir-Fry Sauce
I found this recipe in Rocco Despirito's book Now Eat This and modified it to make it PINK appropriate.
1 tbsp. Seasame oil
2 tbsp minced ginger
2 tbsp minced garlic
1/2 cup chopped green onions, white and green parts
1 tbsp arrowroot powder
2-3 tbsp Bragg's aminos
3/4 cup low sodium chicken broth
3 tbsp rice wine vinegar
3 ounces of tomato paste
8 drops stevia or sweetener or your choice
Salt and pepper to taste

Method
Slice the beef into thin strips
Add the garlic, ginger, vinegar and Bragg's to the slice beef and stir to coat the beef. You will want to marinate your beef for at least a few hours in the garlic, ginger, vinegar and Bragg's mixture.

After the beef has marinated for a few hours you will want to make your stir-fry sauce.


Add your chopped garlic, ginger and green onions to a pan that has been misted with olive oil. Saute until you can smell the garlic and ginger and the onions have softened.
While the the garlic and ginger are cooking add the remaining ingredients for the stir-fry sauce to a bowl and whisk to incorporate any lumps from the arrowroot powder and incorporate the tomato paste.

Add in the liquid mixture you just created to the saute pan with the garlic, ginger and green onions. Cook until the entire mixture has thickened. Take the sauce off the heat and set aside. This will make about 2 cups of sauce, you will not use it all in this recipe so use what you need and save the rest for another meal. It will last in the refrigerator for about a week or you can freeze it to use later.
When the sauce is done, you will saute your marinated beef in a mist of olive oil. If there is a lot of marinade or juice in the beef, be sure to pour it off.
When the beef is browned, add in your broccoli and let cook until the broccoli has softened to your likeness.
When the broccoli is soft, add in about 1/2 cup of the stir fry sauce and stir to combine.

If you like your stir-fry a little more saucy, add in a little more. The 1/2 cup will not make a super saucy stir-fry but the sauce is pretty strong so start with a little and add more if you want.
Serve over brown rice or cauliflower rice and Enjoy!


Friday, April 6, 2012

What to do with all those egg shells?

Easter is the day after tomorrow so I thought I would pop on here and share one of our families Easter traditions. Through out the year when I make things with eggs (like my Sweet Potato Frittata, which would be an "egg"celent Easter breakfast meal, hint hint,) I save the egg shells to make what is known as Cascarones or confetti filled eggs for my kids, they love them and look forward to them every year. I know it is short notice but if you find yourself making something with a lot of eggs tomorrow, save the shells and make some cascarones for your kids or better yet, with your kids. Even if you are not making something with eggs, they are cheap right now so give it a try. Note: I posted these on a craft blog I have about a year ago hence the different web address on the pictures.
Cut the ends off theeggs, drain out the egg and use in your recipe or just throw away. Then, rinse out the eggs and set them aside to dry.
Color all the eggs with your favorite egg dye.

Once colored, I take them out of the dye and allow to dry over night.
Then fill them with paper confetti which you can buy in any party supply store.
To cover the hole and keep the confetti inside, cut a small square of tissue or crepe paper and glue it over the hole using a little bit of watered down Elmer's glue.
Let dry and then hide them as you would an Easter egg.
Then let the fun begin as you watch your children find and crack the eggs on each other's heads. In our house, the whole family joins in when it comes to the cracking of the eggs. It really is a lot of fun and a good way to get everyone involved in the Easter fun. I don't know about you but as my oldest has matured, I have found it harder and harder to find things to hide in eggs other than money and candy and these eggs have given me yet another thing to keep him entertained and engaged on Easter.

Thursday, April 5, 2012

Vanilla Raspberry Tart

Oh boy, Easter snuck up on me this year. ,This little dessert is divine and will be making an appearance on our Easter table this year in one form or another. I must stress that while on the PINK method, desserts should be an occasional treat, while everything is an allowed food (I think gelatin is allowed, it is almost pure protein and only 30 calories for the whole packet,) it is hard to fit it into the meal plan so I save desserts for special occasions like Easter! I am going to break it up into three parts, the crust, the filling and the raspberry sauce, I hope you all can follow along, feel free to email me if you have any questions.

Almond Coconut Crust
1 cup almond flour (How I make mine can be found here)
1/3 cup unsweetened coconut (also known as desiccated coconut, f you can't find go ahead and leave it out it will still taste great)
3 medjool dates
2 tbsp coconut oil

Method
Start by soaking your dates in warm water for about 20 minutes, this really helps to moisten/soften them up. I started by only using 2 but ended up needing 3 to the crust to stick together.
Add your pitted dates, almond flour, coconut, and coconut oil to your blender.
Blend until the dates are broken up and everything is combined to a consistency of sand.
Pour your crust mixture into the bottom of a pan, I used individual tart pans, you could use a spring-form pan or even a pie plate.
Press the crust mixture down so that it compacts and forms a crust.

Put the crust into the refrigerator so that the coconut oil will firm up and cause the crust to harden.

Start making your filling.

Vanilla Cream Filling
1 packet of plain gelatin powder
1 2/3 plain unsweetened almond milk
1 tbsp arrowroot powder
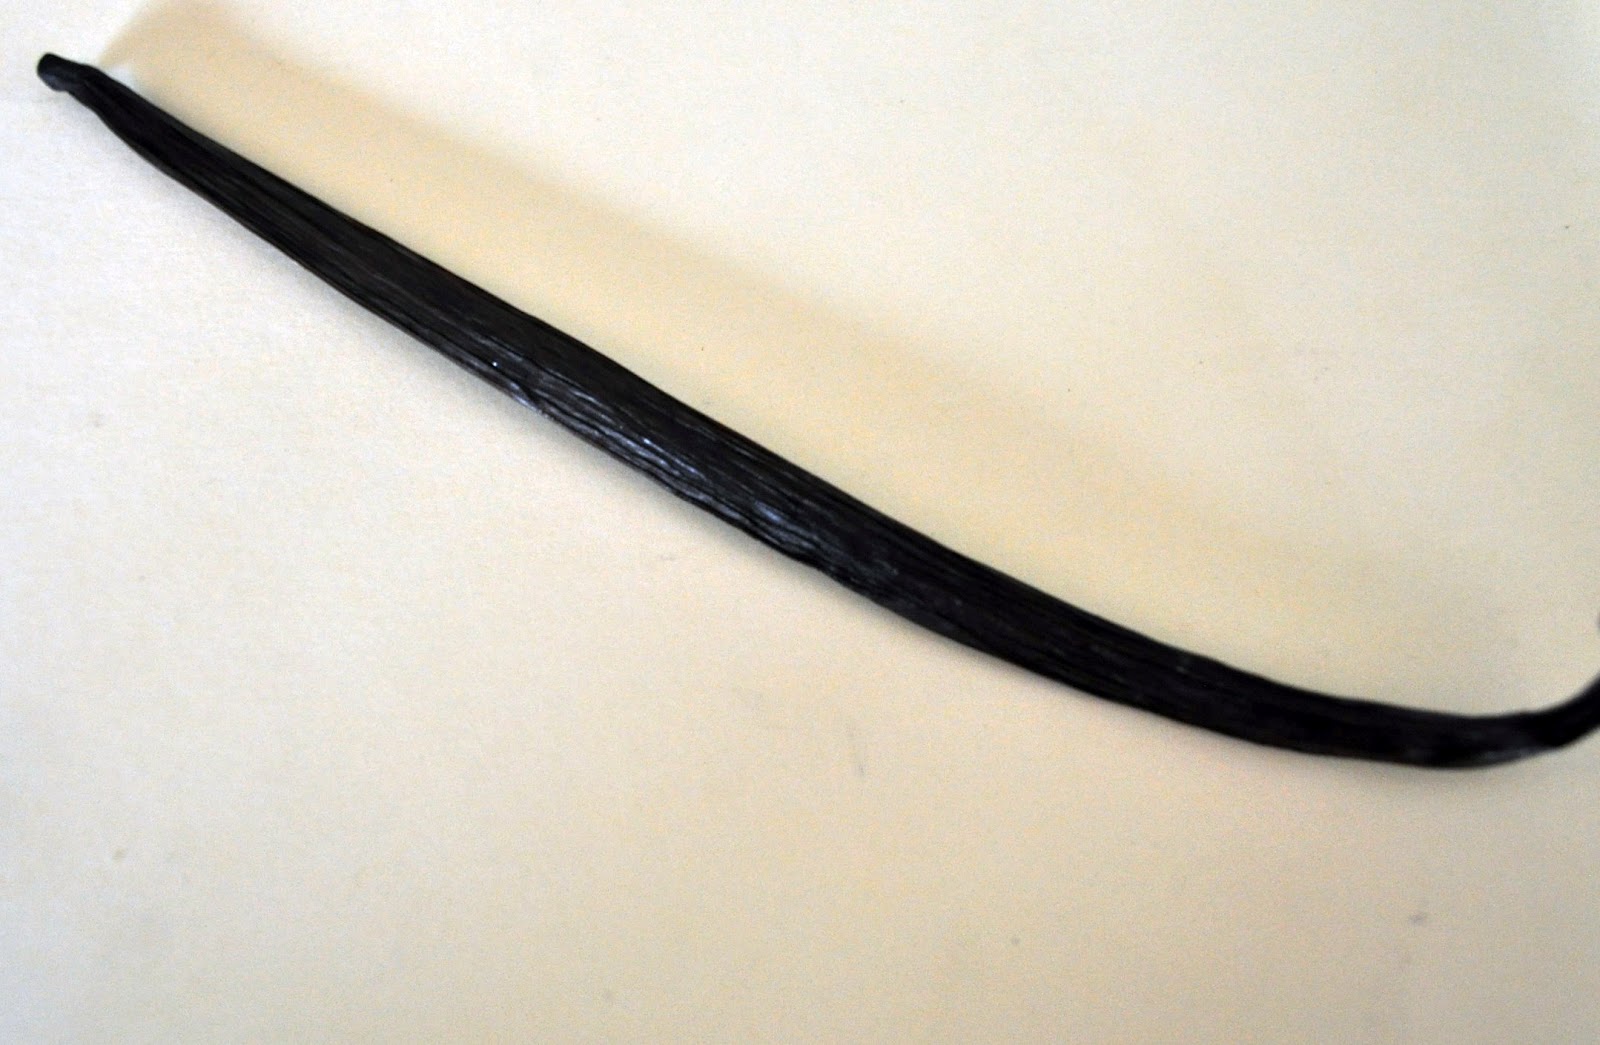
1 vanilla bean
1/2 tsp salt
2 tbsp greek yogurt
Stevia to taste

Method
Full disclosure: I came up with this recipe by modifying a recipe for Creme Brulee found in Rocco Dispirito's cookbook: Now Eat This

Start by adding 2 tbsp of almond milk to the gelatin to let it soften


 While the gelatin is softening, remove the seeds from your vanilla bean and add to the remaining almond milk along with the vanilla bean you just scraped the seeds out of. Vanilla beans are expensive so if you don't have any or don't want to buy any, you could also use the zest of a lemon here and get a lemon custard which would taste wonderful also.
Heat up the almond milk, vanilla bean/seeds, salt, arrowroot powder and stevia (everyone's taste with stevia  is different so use the amount you like, I used about 8-10 drops) on the stove until boiling. When it boils remove from the heat and fish out the vanilla bean pod.

Add about 1/3 cup of the hot milk into your gelatin which by now is pretty firm. The hot milk will help to melt the gelatin.

 When you have a smooth gelatin paste, add the paste back into the rest of the almond milk along with 2 tbsp of Greek yogurt. and stir until you have a smooth custard mixture. Do you see all the little vanilla seeds? I love vanilla!
Pull your crusts out of the refrigerator and pour your custard into the crust.

Put the crust/custard back into the refrigerator to firm up while you make your raspberry sauce.

Raspberry Sauce
1/2 cup raspberries (really you could use any berry here, strawberry would be great and are easy to find right now)
Water (if using fresh berries)

Method
 If you are using frozen berries like me, put them in your microwave for about a minute so that they unfreeze.
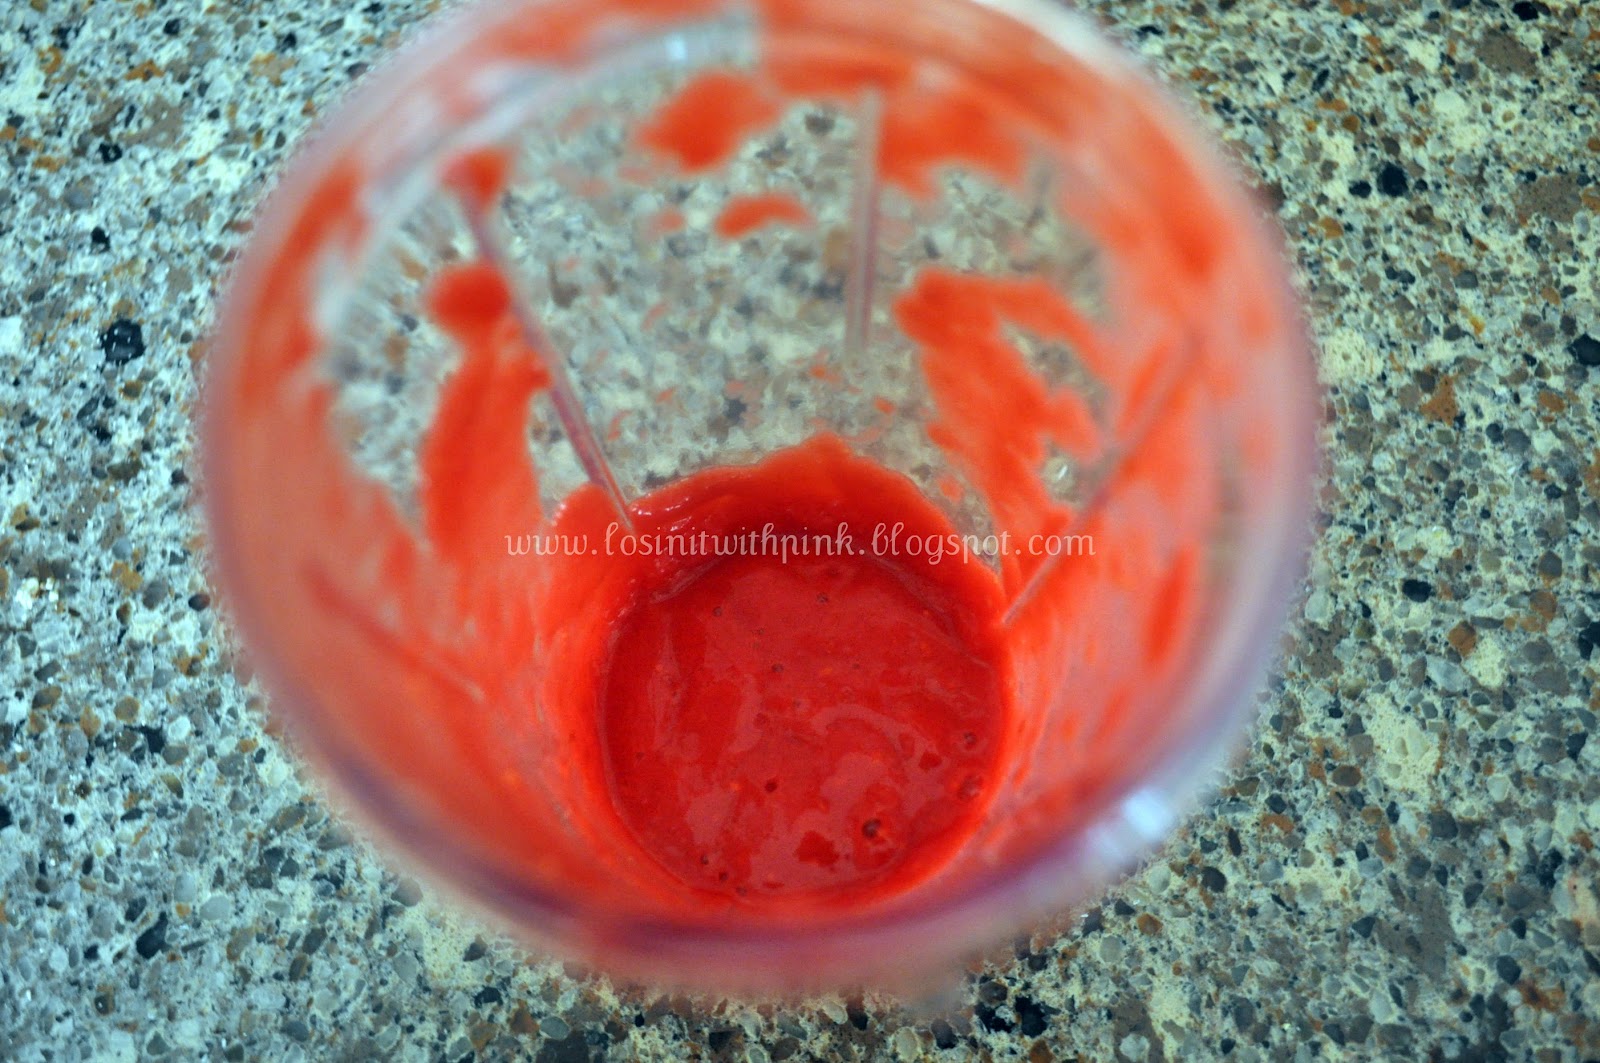
Once they are unfrozen or if you are using fresh berries, add the berries to your blender. If you are using fresh berries you may want to add a few tbsp of water to your berries to get a thinner sauce. If you used frozen berries, they should have enough liquid in them once they are defrosted.

Puree your berries in the blender until smooth. If they are really sour, add some stevia to sweeten.
If your berries have seeds like raspberries, strain them through a fine mesh strainer.
Pour your sauce into a bottle to drizzle over the top of the custard, feel free to skip this step and just drizzle it right over your tart.

Remove your tart from the refrigerator once the custard has set and drizzle with your raspberry sauce.

When I figured out the calorie count of this tart, each tart was about 230 calories. You could lower that by omitting the coconut in the crust and serving 8 rather than 6 if you made one big tart rather than individual tarts.

Enjoy!


Related Posts Plugin for WordPress, Blogger...