Friday, April 6, 2012

What to do with all those egg shells?

Easter is the day after tomorrow so I thought I would pop on here and share one of our families Easter traditions. Through out the year when I make things with eggs (like my Sweet Potato Frittata, which would be an "egg"celent Easter breakfast meal, hint hint,) I save the egg shells to make what is known as Cascarones or confetti filled eggs for my kids, they love them and look forward to them every year. I know it is short notice but if you find yourself making something with a lot of eggs tomorrow, save the shells and make some cascarones for your kids or better yet, with your kids. Even if you are not making something with eggs, they are cheap right now so give it a try. Note: I posted these on a craft blog I have about a year ago hence the different web address on the pictures.
Cut the ends off theeggs, drain out the egg and use in your recipe or just throw away. Then, rinse out the eggs and set them aside to dry.
Color all the eggs with your favorite egg dye.

Once colored, I take them out of the dye and allow to dry over night.
Then fill them with paper confetti which you can buy in any party supply store.
To cover the hole and keep the confetti inside, cut a small square of tissue or crepe paper and glue it over the hole using a little bit of watered down Elmer's glue.
Let dry and then hide them as you would an Easter egg.
Then let the fun begin as you watch your children find and crack the eggs on each other's heads. In our house, the whole family joins in when it comes to the cracking of the eggs. It really is a lot of fun and a good way to get everyone involved in the Easter fun. I don't know about you but as my oldest has matured, I have found it harder and harder to find things to hide in eggs other than money and candy and these eggs have given me yet another thing to keep him entertained and engaged on Easter.

Thursday, April 5, 2012

Vanilla Raspberry Tart

Oh boy, Easter snuck up on me this year. ,This little dessert is divine and will be making an appearance on our Easter table this year in one form or another. I must stress that while on the PINK method, desserts should be an occasional treat, while everything is an allowed food (I think gelatin is allowed, it is almost pure protein and only 30 calories for the whole packet,) it is hard to fit it into the meal plan so I save desserts for special occasions like Easter! I am going to break it up into three parts, the crust, the filling and the raspberry sauce, I hope you all can follow along, feel free to email me if you have any questions.

Almond Coconut Crust
1 cup almond flour (How I make mine can be found here)
1/3 cup unsweetened coconut (also known as desiccated coconut, f you can't find go ahead and leave it out it will still taste great)
3 medjool dates
2 tbsp coconut oil

Method
Start by soaking your dates in warm water for about 20 minutes, this really helps to moisten/soften them up. I started by only using 2 but ended up needing 3 to the crust to stick together.
Add your pitted dates, almond flour, coconut, and coconut oil to your blender.
Blend until the dates are broken up and everything is combined to a consistency of sand.
Pour your crust mixture into the bottom of a pan, I used individual tart pans, you could use a spring-form pan or even a pie plate.
Press the crust mixture down so that it compacts and forms a crust.

Put the crust into the refrigerator so that the coconut oil will firm up and cause the crust to harden.

Start making your filling.

Vanilla Cream Filling
1 packet of plain gelatin powder
1 2/3 plain unsweetened almond milk
1 tbsp arrowroot powder
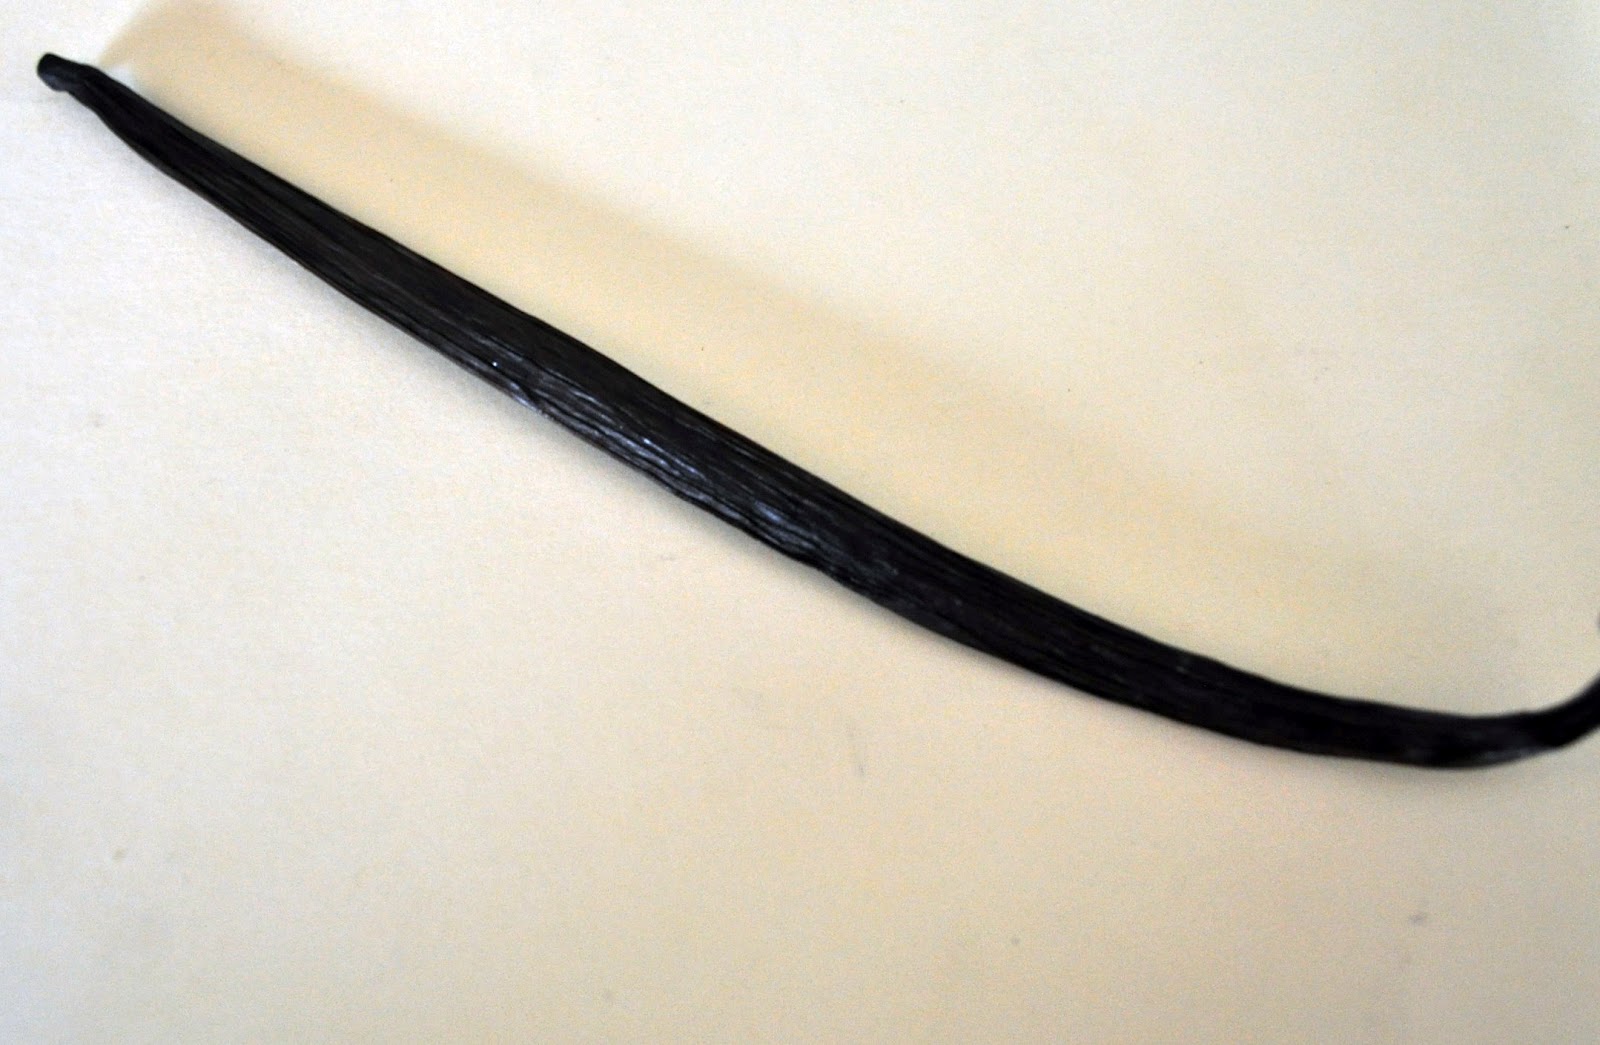
1 vanilla bean
1/2 tsp salt
2 tbsp greek yogurt
Stevia to taste

Method
Full disclosure: I came up with this recipe by modifying a recipe for Creme Brulee found in Rocco Dispirito's cookbook: Now Eat This

Start by adding 2 tbsp of almond milk to the gelatin to let it soften


 While the gelatin is softening, remove the seeds from your vanilla bean and add to the remaining almond milk along with the vanilla bean you just scraped the seeds out of. Vanilla beans are expensive so if you don't have any or don't want to buy any, you could also use the zest of a lemon here and get a lemon custard which would taste wonderful also.
Heat up the almond milk, vanilla bean/seeds, salt, arrowroot powder and stevia (everyone's taste with stevia  is different so use the amount you like, I used about 8-10 drops) on the stove until boiling. When it boils remove from the heat and fish out the vanilla bean pod.

Add about 1/3 cup of the hot milk into your gelatin which by now is pretty firm. The hot milk will help to melt the gelatin.

 When you have a smooth gelatin paste, add the paste back into the rest of the almond milk along with 2 tbsp of Greek yogurt. and stir until you have a smooth custard mixture. Do you see all the little vanilla seeds? I love vanilla!
Pull your crusts out of the refrigerator and pour your custard into the crust.

Put the crust/custard back into the refrigerator to firm up while you make your raspberry sauce.

Raspberry Sauce
1/2 cup raspberries (really you could use any berry here, strawberry would be great and are easy to find right now)
Water (if using fresh berries)

Method
 If you are using frozen berries like me, put them in your microwave for about a minute so that they unfreeze.
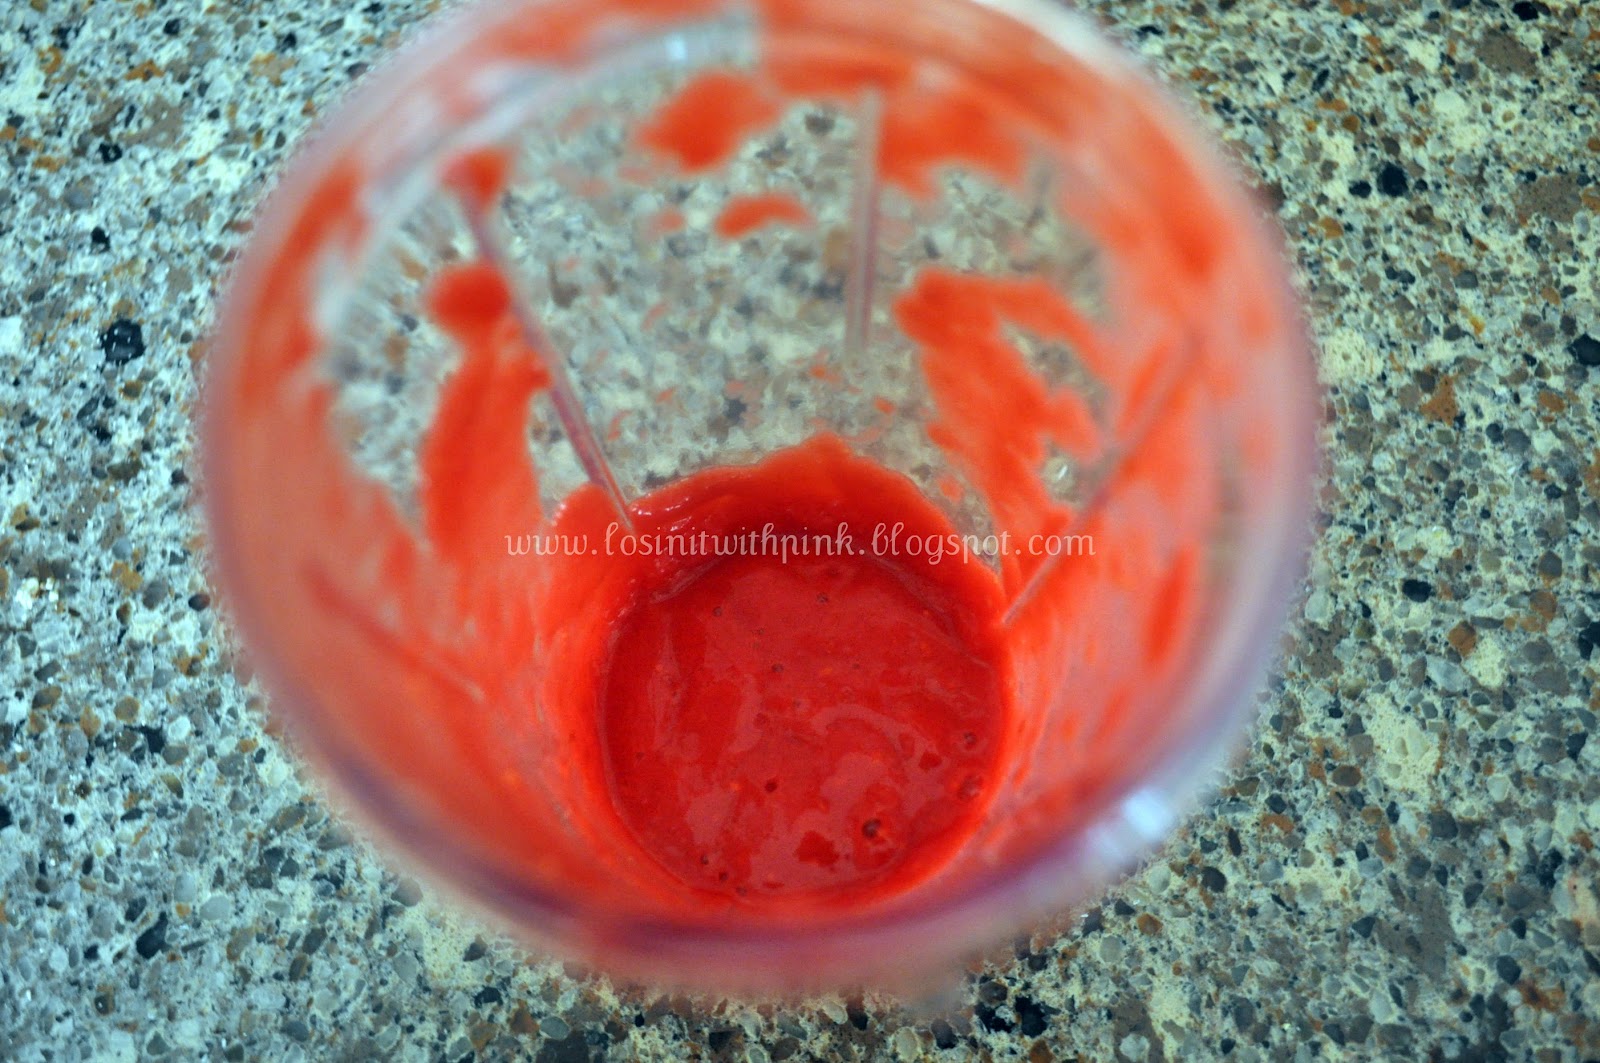
Once they are unfrozen or if you are using fresh berries, add the berries to your blender. If you are using fresh berries you may want to add a few tbsp of water to your berries to get a thinner sauce. If you used frozen berries, they should have enough liquid in them once they are defrosted.

Puree your berries in the blender until smooth. If they are really sour, add some stevia to sweeten.
If your berries have seeds like raspberries, strain them through a fine mesh strainer.
Pour your sauce into a bottle to drizzle over the top of the custard, feel free to skip this step and just drizzle it right over your tart.

Remove your tart from the refrigerator once the custard has set and drizzle with your raspberry sauce.

When I figured out the calorie count of this tart, each tart was about 230 calories. You could lower that by omitting the coconut in the crust and serving 8 rather than 6 if you made one big tart rather than individual tarts.

Enjoy!


Tuesday, April 3, 2012

Turkey Burgers and Zucchini Chips

Turkey burgers are a staple meal in our house. They are quick and easy, perfect for a night that is full of baseball and softball practice. The zucchini chips are easy to make but do take quite a while to achieve the crispy texture, what is nice is you can make them stick them on a low temperature and step away and do something else while they cook.

Zucchini Chips
1 whole zucchini 
olive oil
Mrs. Dash original
nutritional yeast

Method
Slice zucchini thinly using a mandolin or a knife, you want your slices to be about 1/8 of an inch thick.
Mist the slice with olive oil and sprinkle with Mrs. Dash and nutritional yeast, stir so that all the slices are coated.
Lay the zucchini slices out on a cookie and bake at 200 degrees until they are crispy, mine took about 1 hour 25 minutes but you will want to check yours every so often. I also turned mine over about half way through.

Turkey Burgers
1 package lean ground turkey
1/2 cup vegetable puree
1 egg
2-3 tbsp water
1 tsp Mrs. Dash
Dash of salt and pepper
Lettuce (used to wrap your burgers)

Method

Start by making your vegetable puree, to do this add any variety of vegetable to your blenders, I used carrots, mushrooms, colored peppers, spinach and onion along with a little water, just enough to help blend the vegetables, you don't want to make a soup.

Add your vegetable puree to your ground turkey along with you choice of spices and 1 egg. They egg helps to bind everything together, yes it is more protein than 4 ounces but I ended up getting 7 burgers out of the recipe so in the end I think you are not over on your protein portion. 
Form patties and grill. These are fairly loose burgers, I think they would fall apart on a BBQ but they were great on an indoor grill pan, just be careful when flipping so they don't break apart.
To serve, wrap lettuce around your turkey burger and serve any toppings you desire, I used tomato, onion and avocado. 

Enjoy!

Almond Flour

Let me first start off by saying thank you to everyone who has been reading the blog...I hear from people everyday who say how helpful it has been to them on their PINK journey. It truly means the world to me that it has reached so many people. Hearing from all of you makes me want to continue to create new recipes for everyone and I am trying but my life has been a little hectic lately. Without going into to many details I have been dealing with a lot of illness at our house which seems to be taking a lot of my time, imagine that...a mom whose children are taking all of their time, can you relate? So I guess what I am saying is please forgive me for the slow down in posts, I promise it will pick up when life slows down. (Or when my children are grown, I am not sure which will come first)

The last few recipes I posted called for almond flour and several people have written to ask me how to make it. I feel kind of silly posting about how to make almond flour because it is so easy and essentially it is just ground up almonds but their are a few tricks I do that give it a much finer texture than just ground up almonds or what is sometimes referred to as almond meal. Almond flour can be used in baking such as in my apple crisp but I have also used it to make muffins. I also love that I make it with the pulp that if left over from making almond milk so I don't feel like I am wasting anything.

Almond Flour
Pulp left over from making almond milk

Method
Remove the pulp from your cheese cloth or nut milk bag and spread across your cookie sheet.
Break up any large clumps but you don't have to be to through.
Put the pulp into the oven at 170 degrees so that the almond pulp dries out. You could also use a food dehydrator for this step if you have one.
After a few hours remove the pulp from the oven, it should be really dry and crumbly, any clumps that you left should hold together well but crumble if smooshed.
Take the dry pulp and put it into a blender, I find that my little personal blender or fake magic bullet gets the pulp to the finest consistency.
Blend until it is smooth and powdery.

Store in the freezer until you are ready to use.

Note: you will see to different color variations in my flour, this is because I have been adding chia seeds to my almonds when I make almond milk, it helps to thicken the milk slightly and in a more natural way unlike the store bought brands that often have added thickeners. So the darker flour is from the ground chia seeds, the lighter stuff if almond flour made without chia seeds.

Enjoy!

Related Posts Plugin for WordPress, Blogger...