Friday, February 17, 2012

Vegetarian Pizza


Friday night at our house is pizza night. It all started as a way to bribe my youngest to eat dinner, yes I am not above bribing my children. My youngest is by far my most picky child and was complaining a lot about eating dinner. You know, he kept saying I don't want this, I don't want that. So we struck a deal, if you eat your dinner through out the week without complaining, we can have pizza on Friday nights. It was a plus for me also because it gave me a much needed night off of cooking. At least when I wasn't on PINK, now I cook all the time but cooking for 1 on Friday night is much easier than cooking for 5.

Well, today I got a sweet email from Tricia asking me to please come up with a PINK friendly pizza and I thought since today is pizza day in our house there was no better day to figure out how to have pizza while on PINK. What I came up with isn't exactly like pizza mostly because of the cheese. I made a "cheese sauce" that tasted really good but not like cheese and the texture was nothing like cheese so to call it cheese sauce, really is a misnomer, it really isn't cheese like at all but it did taste good and would be excellent as a dip for raw vegetables. I am working on making a vegan feta cheese that should be ready tomorrow so I will let you know if that helps make it more like pizza. From what I have read, it is really hard to make a vegan cheese that melts like cheese. If you know how, let me know.

First the crust. I can't take credit for this recipe, I found it on another blog called The Spunky Coconut, isn't that a cute name? She posted a recipe for a grain free/dairy free tortilla. I thought that this might be a possibility so I decided to try it. The only thing I did differently is to use all baking soda instead of part soda and part powder because I was out of soda and I didn't bake between parchment paper, instead I used my Silpat baking mat and used my fingers to push form the dough into rounds, it is a little sticky. I also baked my crusts for 15 minutes at 375 degrees so they were a little crunchier like a pizza crust would be.

Almond Quinoa Chia Pizza Crust 
1/4 cup + 2 tbsp. of chia seeds
1/4 cup quinoa flakes
1 cup almond flour
2tbsp. arrowroot powder
1 1/2 baking soda

1 tsp olive oil
2 tsp apple cider vinegar
1/4 cup almond milk
3/4 cup water

Method


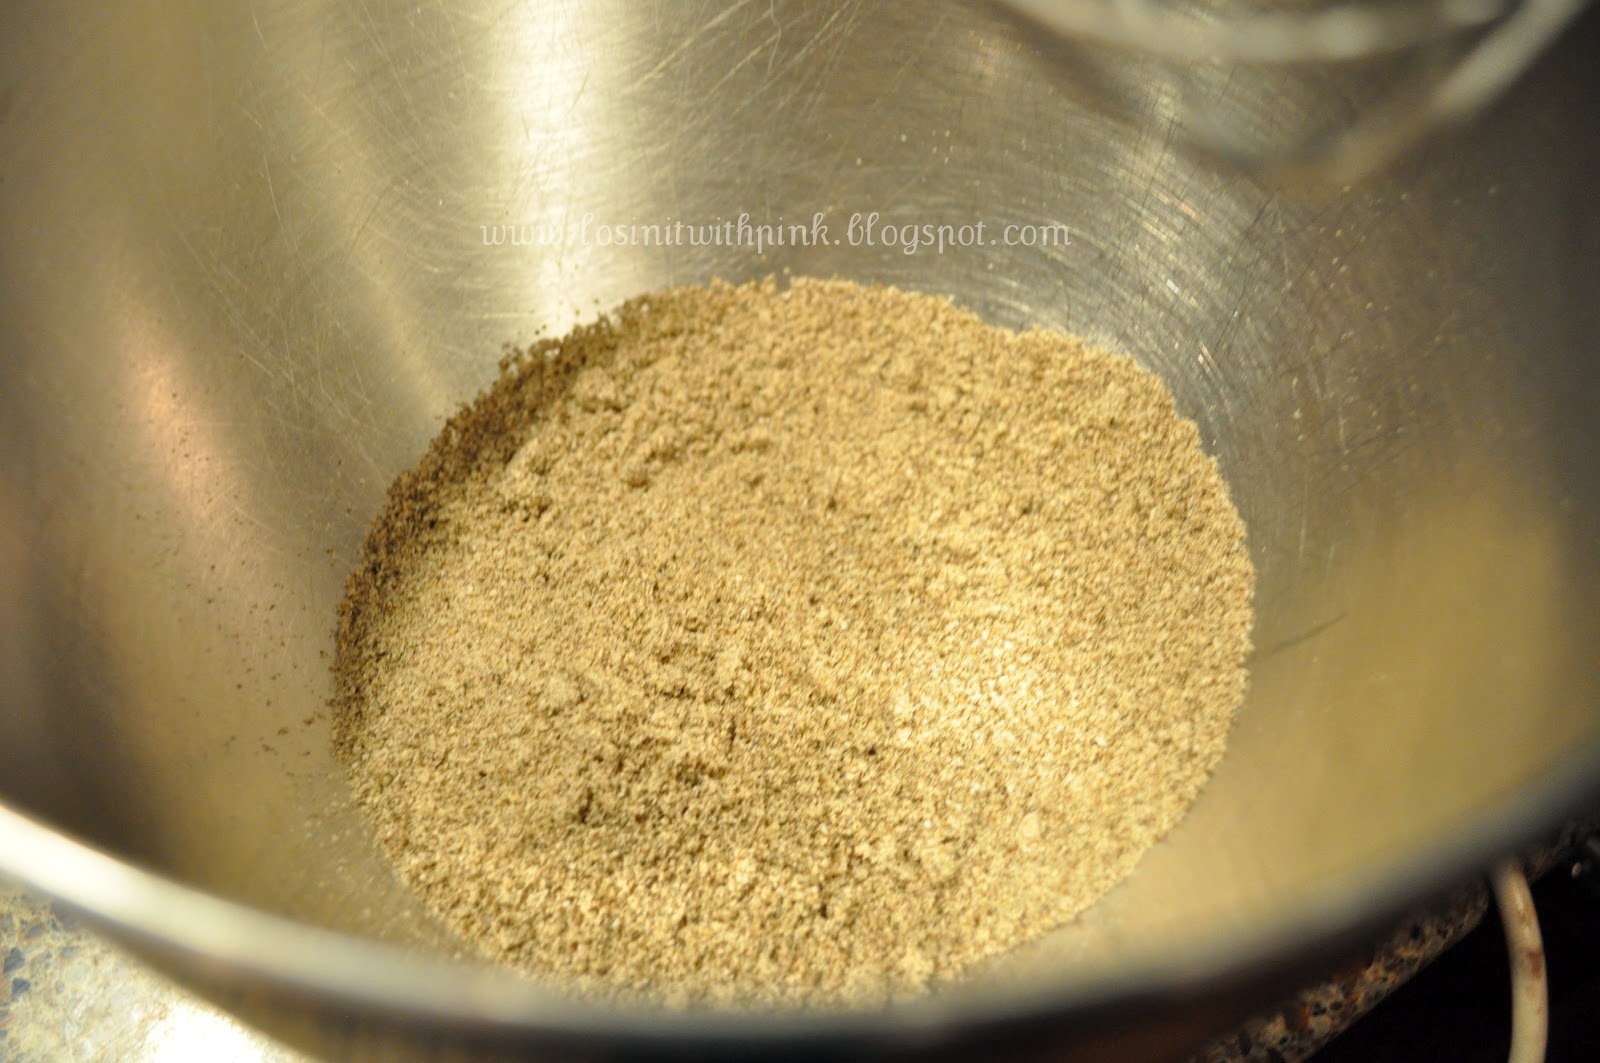
Grind the quinoa flakes and chia seed into a powder using a small blender such as a spice grinder or a magic bullet etc.


To the quinoa and chia seed mixture, add the almond meal, arrowroot and baking soda. Stir to combine.


Add the olive oil, apple cider vinegar, almond milk and water to the dry mixture. Mix until fully combined.


Divide the dough into 6 equal parts and spread them on your non-stick baking mat into pizza rounds or whatever shape you want.


Bake for 15 minutes at 350 degrees.

Let cool before you try to remove from the baking mat.

Vegan Cheese Sauce
1 medium red bell pepper
1/4 cup raw cashews
3/4 cup almond milk
1/2 tsp garlic
2 tbsp nutritional yeast
1/2 tsp mustard powder
1/2 tsp sea salt
2 tbsp. arrowroot powder

Method (I got busy cooking and forgot to take most of the pictures along the way, so sorry)


Start by roasting your red bell pepper under a broiler for about 15 minutes, turning every few minutes until it is blackened on all sides.


When it has blackened take it out of the oven and put into a bowl and cover with a plate to cool. It will steam as it cools and the skin will easily peel off. Peel of the skin and take out the seeds from inside the pepper.

Add all the ingredients to a blender and blend until smooth.


Put the sauce mixture into a pan and cook over medium heat for 5 to 10 minutes or until it has thickened.

Pizza Assembly


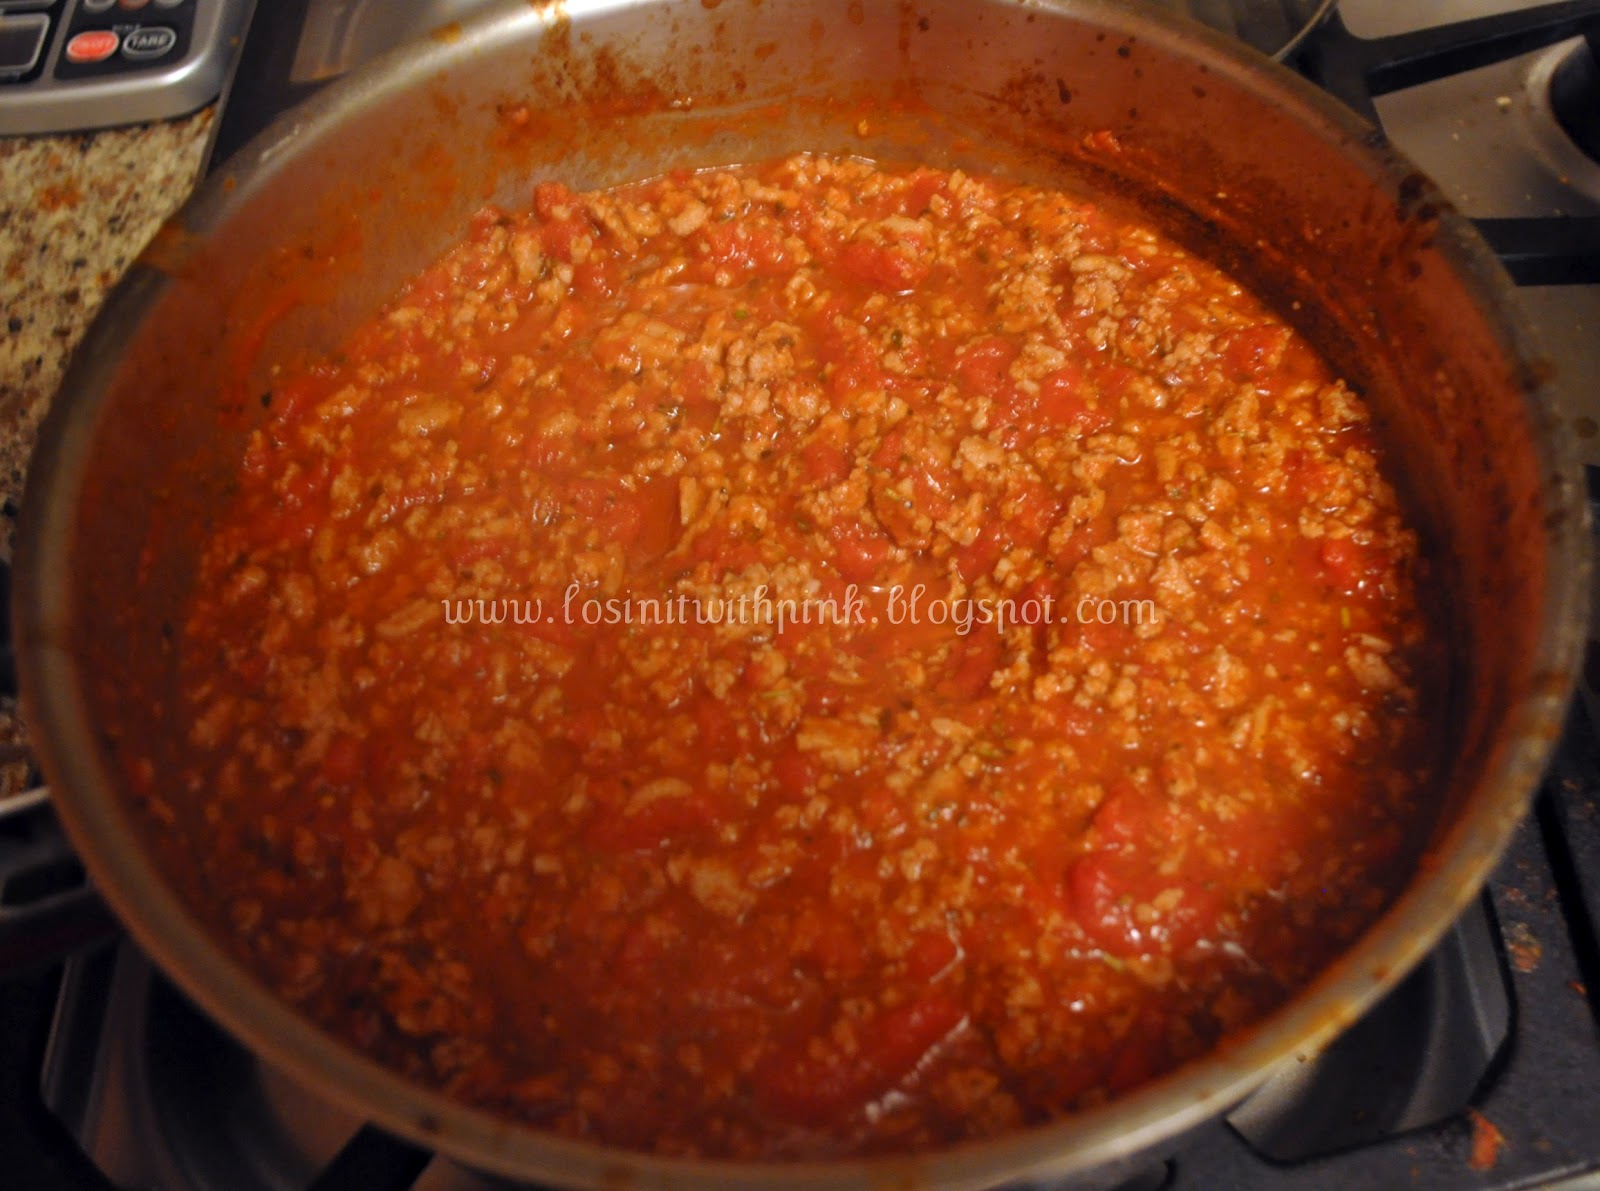
I used a bit of homemade marinara sauce that I had made previously and smeared it onto the crust.


I then topped with assorted vegetables. I felt that with the nuts and almond milk in the recipe that I had my protein covered but if you feel like adding chicken or Canadian bacon feel free.

Dribble the cheese sauce on top and bake for about 10 minutes at 375 so that the vegetables soften.


Cut and Enjoy!

Note: I wanted to let you know that some of the ingredients are kind of expensive, (ie: quinoa flakes and arrowroot powder) at least to me, I am cheap! I have a pretty stick $700 dollar a month grocery budget that feeds a family of 5, three meals a day and snacks, that is with the exception of pizza Friday. I rationalized the purchase of these two ingredient by telling myself that I could use them for lots of recipes. I just wanted to warn you.

Finished with Phase 1 on to Phase 2

Well, I am now finished with phase 1 of the PINK method including the 4 day reset and I am starting phase 2 today. I took my after phase 1 pictures this morning and measured and let me say, I am SO pleased. This program is working for me like no other program has before. I have an excitement about it, it doesn't feel like a punishment like many other diets I have done, not sure if it is the program or simply a change in my attitude, either way I will take it.

I have not posted my weight loss totals or measurements before...stating that  didn't want others to compare to me, yet follow their own path and celebrate their own loses. I still feel that way but I got lots of emails asking how much weight I lost, what my height is, what my measurements are etc. So I have changed my view slightly on the subject, one because of the desire of people wanting to know and two because I have decided it is okay to celebrate my success, I worked hard for it and I want other's to know what is possible with the PINK method. So here you go!
Now for my measurements


Before Reset
After Reset
After Phase 1
Total loss
Waist
48 inches
45 inches
41.5 inches
6.5 inches
Bust
47 inches
45 inches
42 inches
5 inches
Hips
45 inches
44 inches
41.5 inches
3.5 inches
Thigh
27 inches
26 inches
25 inches
2 inches


For a grand total of 17 inches lost of my entire body. I wish I had measured my arm also because I am sure I have lost there also. I may add that as a new measurement this time around.

On a side note, thank you to all of you who have been commenting and giving me your feedback. You will never know how much it means to me. 


Wednesday, February 15, 2012

Chicken Yakisoba with Zucchini Noodles


I am a huge fan of Chinese/Japanese food. Come to think of it, I pretty much any type of ethnic food, even better, I just love food. Now you know how I got to where I am with my weight. I am learning however that I don't have to give up the foods I love, I just have to modify them to fit my new lifestyle. Yes, lifestyle. I am in it for the long haul.

I had a brilliant idea last night as I was making zucchini noodle spaghetti that I should try to make Yakisoba with these noodles also. My family loves Yakisoba which really is just another name for chow-mein but who cares.  It worked beautifully and I have figured out how I can yet again modify a meal for the whole family to fit my PINK method eating plan. I use the zucchini noodles, the rest of my family eats the Yakisoba noodles that are usually found in the produce section of the grocery store by the won-ton wrappers and tofu. Where do I get the zucchini noodles you ask? You make them with your Saladacco also known as a spiral slicer or cut them by hand either will work.


Chicken Yakisoba with Zucchini Noodles
4 ounces of chicken
3 cups chopped mixed vegetables (use what you like, I used onions, snap peas, carrots, red bell peppers, mushrooms, and a little purple cabbage)
1 medium size zucchini (you will use this to make your noodles so don't chop it up)
1 clove chopped garlic
1 tbsp Bragg's Amino's or Low sodium soy sauce
1 tsp sesame oil

Method
Brown your chicken in a saute pan, or pull some cooked chicken out of the refrigerator, I always keep a couple portions ready to go in case of a hunger emergency.


Chop your vegetables into bite size pieces


Saute the vegetables and garlic with the chicken until they soften. I often add a little bit of water to the vegetables to help them cook and then let it evaporate, you don't want a lot of water in the pan.


When the vegetables are soft, turn off the heat and add your  zucchini noodles, your Bragg's or soy sauce and your sesame oil and stir until combined.


If you are making for your family, obviously you would use more chicken and vegetables and then take out your portion, add the zucchini noodles to your portion and the Yakisoba noodles to your family's portion. My family then prefers teriyaki sauce mixed into the whole thing but use what your family likes.

Enjoy!


Tuesday, February 14, 2012

Spaghetti Reset Style


I am back on reset before starting phase 2. I bought myself a little treat after meeting my first mini goal and it has been a life saver on this round of reset. I have used it for lunch and dinner the last two days, I love it that much. Yesterday, I used it to make some spaghetti with meat sauce. Yep, on reset where most carbs are a no no. How you ask? Well let me introduce you to the Saladacco. It is a little slicer that takes your harder vegetables and slices them into thin spaghetti like noodles. Gosh, let me just show you the zucchini noodles I made for dinner last night


Aren't those cute? They are so easy and fun to make. To eat them, I left them raw and topped them with a little of the marinara sauce I posted here. In a nut shell, it is a can of stewed tomatoes, onions, Italian seasoning and garlic. I didn't make the meatballs because I was in a hurry, instead I simply browned some ground turkey and added the marinara sauce to cook for a bit.


Throw your sauce on top of your "noodles" and you are ready to eat, a quick 15 minute dinner for a busy night. I also put a little nutritional yeast on top of the sauce because it has a slightly cheesy taste, kind of like Parmesan. You could saute your "noodles" a bit to soften but I found that the heat from the sauce softened the noodles enough.


I hope you don't feel like I am being a product pusher, I just have really been enjoying the Saladacco and I wanted to share it with you all. I can see it being something I use often and I am excited to try and make some Yakisoba noodles for dinner tomorrow. You could make the noodles using a grater or a knife if you had the patience.

Sunday, February 12, 2012

3 Course Valentine's Day Dinner Part 3: Chocolate Panna Cotta


Dessert, let's get to that. I struggled with whether to post this recipe, not because it isn't good, it is really good but mostly because while all ingredients are PINK approved (with the exception of gelatin, not sure if that is) where do you put it in? If you are eating exactly as written on the PINK method and you just had course #2 of the Valentine's day meal, Soy Ginger Marinated Halibut on a bed of Oriental Slaw, you have used up your protein and carbs or fruit for the day. So this dessert doesn't fit into the plan, because it is more protein and slow carbs than you are allowed but it is still good for you as far as desserts go and all food used in the recipe is PINK approved, so choose for yourself if you want to include it in your meal for this special occasion. All told I believe you are getting in a 3 course meal for about 500 calories, not to shabby if you ask me.

Ok, now that I have said my peace regarding eating according to plan, you may ask, "what is Panna Cotta?" I describe it as a thick custard but, here is the definition according to Wikipedia.

Panna cotta (from Italian cooked cream) is an Italian dessert made by simmering together creammilk and sugar, mixing this with gelatin, and letting it cool until set. It is generally from the Northern Italian region of Piedmont, although it is eaten all over Italy, where it is served with wild berriescaramelchocolatesauce or fruit coulis.


I took the traditional recipe and PINK'd it because cream, milk and sugar are a no no on PINK. Instead of milk and cream, I used Greek Yogurt and instead of sugar, stevia. I also didn't cook anything so technically I think this would be considered a raw dessert. I also added a crust of almonds and Medjool dates which is not typical of a Panna Cotta, typically it is just the custard similar to how you serve flan. You could leave the crust out if you so desire though it was my favorite part of the dessert. Here is the recipe.

Chocolate Panna Cotta

Crust:
4 Medjool Dates
1/2 cup almond meal
1 tsp coconut oil (optional)

Panna Cotta:
1 cup nonfat plain Greek yogurt
3 tsp Cacao Powder
2 tsp plain gelatin powder
2 tbsp warm water
1 tsp pure vanilla extract
stevia to taste
Berries for the top (optional)

Method


Start by pitting your dates. I found my dates at Trader Joe's in the produce section and got a 16 ounce package for $3.79 not bad and I can use them in lots of recipes.


Put your dates, almond flour (which is just ground up raw almonds, so you can totally make your own, if you don't want to buy) and coconut oil into your blender or food processor and blend until it forms a ball of "dough." I say the coconut oil is optional because I only used it to add a little bit of coconut flavor to the crust, the crust is really good!


Take your ball of dough and press it into you pan to form a crust. You could use just one tart or spring-form pan and make a larger panna cotta, I chose to use an individual tart and spring-form pan for mine, just because they are so cute. I only intended to get to servings out of this recipe but had enough to stretch to 3.


To make the panna cotta, start by softening your gelatin in the water. Let it sit while you mix up the yogurt portion.


Put your Greek yogurt, cacao powder, vanilla and stevia into a bowl and mix until thoroughly combined.


Add in your softened gelatin and stir again until combined, it will thin out your yogurt mixture.


Pour into your pans with the crust. 


Cover and refrigerate a couple of hours until the yogurt has thickened, and holds its shape.


Top with Strawberries or any other berry and serve. 

Enjoy!

Be sure to check out part 1 and part 2 of the 3 course Valentine's Day dinner.


3 Course Valentine's Day Dinner Pt. 2 Soy Ginger Marinated Halibut on a bed of Oriental Slaw


Part 2, the main course. Of course if you are not a fish fan, use chicken breasts instead. You also could use any other fish you like, this is great with salmon or tilapia. On a side note, if you add a little shredded chicken to the slaw instead of the fish, this makes for a great PINK lunch that is reset friendly, if you omit the orange. A little shout out, thank you to my Mother and Father-in-law for sharing their spoils of their fishing trip, the halibut was wonderful and that is a big compliment from me as I am not a huge fish fan.

Soy Ginger Marinated Halibut
4 tbsp low sodium soy sauce or Bragg's amino acid
1 tsp minced fresh ginger
2 clove garlic minced
6 tbsp vinegar (rice, white or red, I used white)
2 tsp sesame oil
stevia to taste
1 tsp sesame seeds (totally optional, I should have left out and only put into the dressing)
2 servings of Halibut (mine we about 7 ounces each, of course if you are following PINK only eat 4 ounces)

Method
Put everything except the halibut into a small bowl and mix to combine. Divide the marinade in half, half will be your marinade, half will be your dressing for the slaw.


With the half that is reserved for the marinade, pour it over your halibut, making sure that your fish is coated in the marinade. Cover and put into the refrigerator to marinate for 2 or 3 hours.


Grill either on the BBQ or on your grill pan. If they are thick fillets you may have to finish off the cooking in a 350 degree oven so that your fish doesn't burn. This is what I had to do.

Oriental Slaw
1 small head Napa Cabbage shredded
1/4 head of a small purple cabbage shredded
1 orange peeled and separated
2 carrots shredded
1/4 of small red onion sliced
2 tbsp slivered almonds
reserved marinade/dressing from halibut


Method


Mix all the vegetables and the dressing in a large bowl just before the fish is finished cooking. If you dress the slaw to early the cabbage may begin to wilt, though it is much more hardy than lettuce.


Put about 2 cups of the slaw onto the plate and top with your fish.

Note: I also drizzled about a tsp or so of some prepared bottled oriental dressing over my fish and slaw just for presentation purposes. I used the Trader Joe's brand which has 35 calories for 2 tbsp. I just don't like to use to much because the second ingredient listed is sugar.

Enjoy!

Be sure to check out part 1 Vegetable Stuffed Mushrooms and part 3 Chocolate Panna Cotta


Related Posts Plugin for WordPress, Blogger...