Showing posts with label dairy free. Show all posts

Saturday, March 17, 2012

Fried "rice"


Have I told you all about my love of Chinese food? Yeah, it pretty much rocks my world. As a matter of fact my first "official" job at the ripe old age of 14 was as a waitress in a Chinese food restaurant. I know that was young to get a job as a waitress but my friend's parent owned the restaurant and I would hang out there all the time and just help out so as soon as I was old enough to legally be employed I had a job. I guess my love of Chinese food runs deep huh?

This recipe is special though because it doesn't actually have rice in it. How do you make fried rice without rice you ask? Well with the most versatile vegetable in the world, cauliflower. Yep cauliflower not only does it make a knock out replacement for potatoes but it also makes a great replacement for rice, let me show you how. 

Fried "Rice" (makes 2 generous meal size servings or 4 side servings)
1/2 head of cauliflower
peas/snap peas (I used both)
carrots
1/4 of an onion
Canadian Bacon or cooked diced chicken (optional, I ate this as a meal so I added in Canadian bacon for my protein but if you are serving this as a side dish, just leave out the protein)
1 egg
dash of almond milk
1/2 tsp minced garlic
green onions or chives
1-2 tbsp of low sodium soy or Bragg's Aminos
Olive oil

Method 
Start by making scrambled eggs by adding a little almond milk to an egg and whisking together.
Ignore my pan, I burnt the crud out of it the other day, it is ugly but still usable
Cook your egg until it is scrambled, then remove from the pan and set a side until later.
Remove the florets from the head of cauliflower and add the florets to the blender or food processor
Pulse until the cauliflower resembles rice
Chop your carrots, green onions, onion, garlic and snap peas if you are using them
Saute them in a mist of olive oil until they begin to soften
When they soften slightly add another mist of olive oil to your pan then add in your cauliflower "rice" and cooked chicken or Canadian bacon
Continue to cook until the cauliflower has softened and cooked through, then add in your scrambled egg and green onions

Stir to combine and then add in your Bragg's or low sodium soy sauce to the mixture. I actually used half and half, 1 tbsp Bragg's 1 tbsp low sodium soy sauce.
Serve and Enjoy!


Monday, March 12, 2012

Company Worthy Stuffed Chicken Breasts


This is one of those meals that sort of came together with the last of the produce hanging out in my refrigerator. For it being bottom of the barrel, use what you got on hand, it was excellent, even company worthy if I do say so myself. I happen to have a few mushrooms, a few mini bell peppers and 1 yellow squash hanging out in the produce bin but use what you have. If you only have a zucchini use that, no bell pepper, try a carrot. I really would have loved onion in this also but I was all out. Do you get what I'm saying, use what you have.

Company Worthy Stuffed Chicken Breasts
1 boneless skinless chicken breast
3 white mushrooms
3-4 mini bell peppers or half of a large one
1/2 yellow squash
1/4 tsp thyme
1/4 tsp minced garlic
Dash of Balsamic Vinegar
Dash of salt
Dash of pepper

Method


Start by filleting your chicken breast but stop before you cut all the way through. You want to form a pocket of sorts.


Chop your vegetables in your food processor until fairly fine, it will hold together better if it is a fine chop but you certainly don't want a paste.

Saute your vegetables in a mist of olive oil

When they start to soften add in your thyme, garlic, salt, pepper, and balsamic vinegar and let cook a minute or so longer just so the flavors meld

Take your filling and stuff your chicken where you created your pocket

Fold over your chicken so that the stuffing is sandwiched between your chicken

Return the stuffed chicken breast to the pan and saute until both sides are lightly brown (I totally got busy helping with homework and burned the snot out of my pan but the chicken was saved, just a little more brown than most people like)

Then place in a oven safe dish and finish baking your chicken breast in the oven at 375 degrees for about 15 minutes. I also added some brussel sprouts to my pan with a dash of balsamic vinegar and allowed them to roast right along side my chicken.

Remove from the oven and enjoy!


Monday, March 5, 2012

Roasted Butternut Squash Pasta Sauce


Eating healthy doesn't have to mean boring bland food...quite the contrary. I got my creative juices flowing yesterday in the kitchen and boy was I pleased with the results. I set out to recreate a butternut squash pasta sauce I used to buy at Costco, the results were fantastic and oh so easy to make. Serve it on top of some Zucchini noodles made using the Saladacco along with some grilled chicken and you are set with an easy peasy, gourmet dinner or put in a little more effort and make a vegetable lasagna like I did. Yep, a deliciously amazing vegetable lasagna, I will share how tomorrow.

Roasted Butternut Squash Pasta Sauce
1.5 lbs of butternut squash
4 cloves of garlic
Sea Salt
Pepper
Mrs. Dash original
Olive oil
Almond Milk (I ended up using about a cup, you may use more or less depending on how thick you want your sauce)

Method


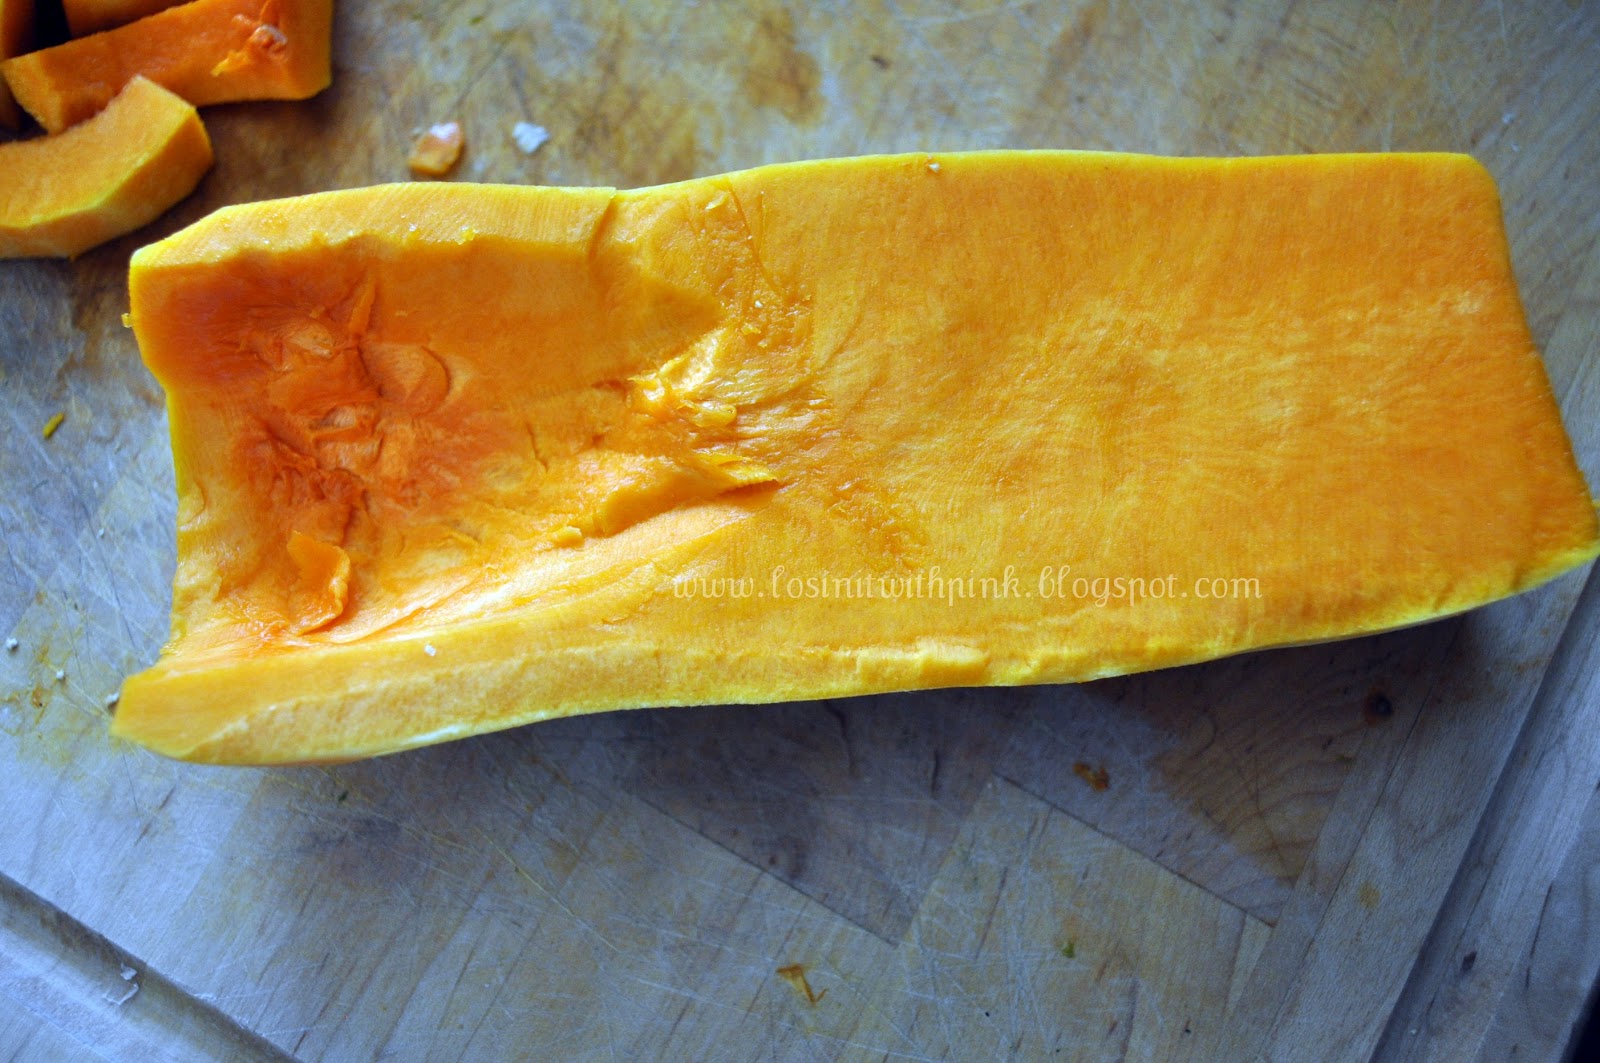
Peel the butternut squash and remove the seeds (just a note, you can buy peeled and seeded butternut squash at the grocery store if you want to skip this step)

Cut the squash into bite size pieces.

Spread the squash out on a cookie sheet along with your garlic and mist with a little bit of olive oil. Sprinkle a little salt, pepper and Mrs. Dash on top of your squash.

Roast at 350 degrees for about 30 minutes or until it gets soft. Cooking time will vary depending on how large your squash is cut.

Remove the roasted squash from the oven and transfer the squash to your blender.


Start by adding 1/4 cup of almond milk to your squash and start pureeing. Add in more milk as needed until you have reached the consistency that you desire.


Serve over zucchini noodles or make this yummy vegetable lasagna once I get the recipe posted! How is that for a tease?

By the way, my kids love this sauce, I serve theirs over cheese ravioli's and they are happy as clams. Because of the color, they think it is cheese sauce and I just keep my mouth shut. It is my little secret that I just shared with you all.

Enjoy!


Friday, February 24, 2012

Make your own Almond Milk


Did you know you can make your own almond milk and that it is incredibly easy? I know buying it in the store is convenient but if you have the time you should try to make some not only because it is cost effective but I think it tastes better and you can control what is in it, make your own flavors and adjust the thickness and sweetness to your liking.

Almond Milk
1 cup raw almonds
6 cups of cold water (this can be adjusted depending on how thick you like your milk)
Any flavoring you choose, today I made vanilla

Method


Start by soaking your raw almonds preferable for 6 to 8 hours in cold water but I  don't plan ahead very well so I have been soaking mine in hot water for about an hour. I know technically this doesn't qualify as raw, I am not a raw foodie person so I am okay with soaking them in hot water if it gets me my almond milk faster. Here is a tip, look for raw almonds in bulk at your grocery store. They are so much cheaper than buying a bag I think I picked up my last few pounds of almonds for $2.88 a pound but normally they should be less than $4.00 a pound and you should get about 3 batches of milk out of each pound.


After they have soaked drain off the water they were soaking in and rinse them in cold water a few times.


Dump the soaked almonds into your blender along with 6 cups of cold water. Here is where you can play around with the thickness of the milk. I originally started making my milk with only 3 cups of water and while it was good, I thought it was to thick, kind of like the consistency of a half and half. I have always been a skim milk girl so I gradually added more water until I found a thickness I liked. So this will make a skim milk consistency, if you like your milk thicker, add less water just remember that the calorie count per cup will increase as you decrease the water.


You can see that I also added a whole vanilla bean to my milk. I know most of you are saying vanilla beans are spendy why would you put a whole one in your milk? Well, a year or so ago I bought vanilla beans in bulk for dirt cheap, I think I got like 200 beans for $20 or something like that. They have been sitting in my freezer since then and I use them when I can, making vanilla almond milk is a perfect use for them. Of course I realize most "normal" people don't have 200 vanilla beans hanging around their house so feel free to add some natural non alcohol based vanilla extract to the milk instead. Today I only used the almonds, water and a vanilla bean.


I was in a small local health food store the other day and they had all kinds of natural extracts. I saw a chai extract that I thought would make for a yummy flavor. I didn't buy it but may go back sometime and try it. I also have some rum extract left over from making rum cake over the holidays...I thought if I added some to the milk along with some cinnamon, nutmeg and cloves it might make for an eggnog type version next Christmas. Just be careful when buying a lot of extracts have alcohol and or sugar added so be sure to read your labels. You could also add some Stevia if you like your milk sweeter or even some cacao powder to make a chocolate almond milk. Basically what I am saying is sky is the limit when it comes to flavoring your almond milk or just leave it plain, I do this quite often so that I can make things like almond milk alfredo or my sweet potato frittata.


Put the lid on your blender and grind those almonds up. I have a fairly high power blender so it doesn't take much time as all but if your blender isn't as high power that is fine you will just have to blend it longer. You will no it is done when you don't have huge chunks of almonds left and a foam has developed on top of you milk.


Pour your milk into a mesh strainer that has been lined with 2 layers of cheese cloth. You could also buy a nut milk bag but I find this method works just fine so why buy something that isn't necessary, unless you really want to after all it is reusable which is nice so that you aren't creating as much waste, come on you know all us Oregonians are environmentalists at heart, reduce, reuse, recycle. I actually do a little sewing so I will probably make my own when my cheese cloth runs out...I know I can make them cheaper than $7.00 a bag. Let me know if you want one, you pay the shipping and I would be happy to make one and send it your way.


Let the milk drain until mostly nut pulp is left. At this point pick up the cheesecloth and squeeze the pulp over the strainer...there is quite a bit of milk left in the pulp. Continue to squeeze until all the milk is released from the pulp and the pulp is fairly dry.


Save the pulp, there are lots of uses for it probably not while on PINK but you can freeze it for later. My kids have requested cookies today and I am going to replace half of the flour in the recipe with my left over nut pulp. (I will be summoning all of my will power today to not eat these.) But there is a whole site devoted to what to do with nut pulp if you really want to use it somehow. The almond nut pulp crackers on this site intrigue me but I don't have much will power when it comes to resisting crackers even healthy ones so  I will probably pass.


Pour your milk into a pitcher and store in the refrigerator for up to 4 days. Aren't these old fashion glass milk jars cute...I have been saving them not knowing what I would do with them, now I have a use. See my hoarding ways have paid off. You will have to shake the milk before use as I find it separates just a little but I think even the store bought brand says to shake before using. See I told you it was easy.

Enjoy your homemade almond milk!

Related Posts Plugin for WordPress, Blogger...